Digital Photography and Imaging - Exercise
02.09.2022 - 02.12.2022 (Week 1 - Week 14 )
Ng Ee Chyn, 0344762
Digital Photography and Imaging
Exercise
Week 1 (2.9.2022) - Introduction & Briefing
Week 1 Lecturer Note - Introduction to Digital Photography &
Imaging
We started our first physical class by introducing ourselves and
getting to know each other. Later on, Mr Martin briefed us about the
modules and assignments. He also showed us some of the student's
past work and so online references. Before we start our design, it
is important to find references to get ideas and recreate them.
After break time, Mr Martin gave us some time to attempt the Beizer
Game to practice our pen tool. With the previous experience, it was
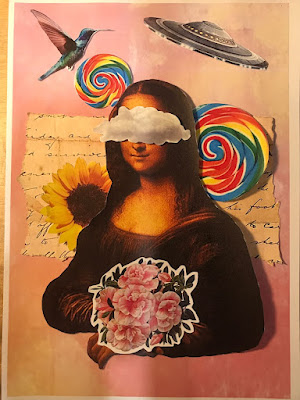
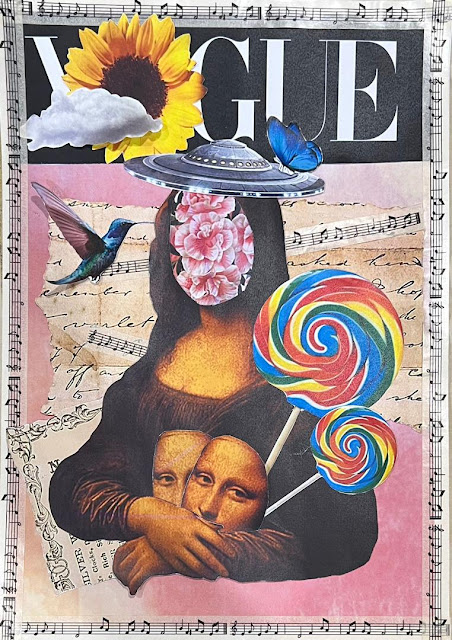
a doddle for me. At the end of the class, we are told to complete
the given physical collage exercise by next Wednesday at midnight
(11:59pm).
Week 2 (9.9.2022) - Introduce Photoshop
Week 2 Lecturer Note - Introduction to Photoshop
This week we learned about the basic tools in Photoshop. We also did some
practice cropping out the table's background using different tools and
creating some shadow effects. At the end of the class, Mr Martin gave us a
task on creating a photoshop collage using the given pictures.
To make a simple shadow effect
- Use brush to draw shadow > filter > blur > Gassion blur
Lasso Tool
- After selecting, click the "layer mask"(right corner 3 selection) to corp out
- Lasso tool use "delete" to undo
Pen Tool
- Use pen tool to make selection = Pan tool to selection: left click > select "make selection"
Magic Wand tool
Collage Exercise 2- Digital in PDF
Composition 1 (Week 2, 9.9.22)
Week 3 (16.9.2022) - Photoshop Blending Modes
\
Week 3 Tutorial Note - Digital imaging Exercise 1: The Breakdown Part
1
Week 3 slides - Blanding Mode
For this week, I have watched the blending modes sent by Mr Martin. I
learned the basic function and effect of different blend modes in
different types of images, such as Darken, Lighten, Contrast, Comparative
and Composite modes groups. Moreover, we were also given an exercise to
practice using the blending modes and use our own pictures to photoshop in
the given background image.
Blending Modes - A blending mode is an effect you can add to a (blend)layer
to change how colour blends with colours on lower(base) layers.
Meaning of Blending Modes
Cycling diffrent blend mode = Shift +/-
Multiply, Screen, Difference, Overlay and Colour
Multiply - Hide the white and show black
Screen - Hide Black show white
Difference- To get perfect alignment(solid black), make 1 base layer and 1
"difference" blend mode layer
Not Align(left) vs Perfect Alignment(right)
Overlay - Hide 50% gray
Overlay Blending Mode result
Colour - Preserve all the details inside the
photograph and only change the colour of eyes, hair, clothes and etc.
Colour Blending Mode result
Shazam colour match:
Image > Adjustment > Match Colour
Luminance - Brightness
Colour Intensity - Stronger colour or dull colour
Fade - Blend
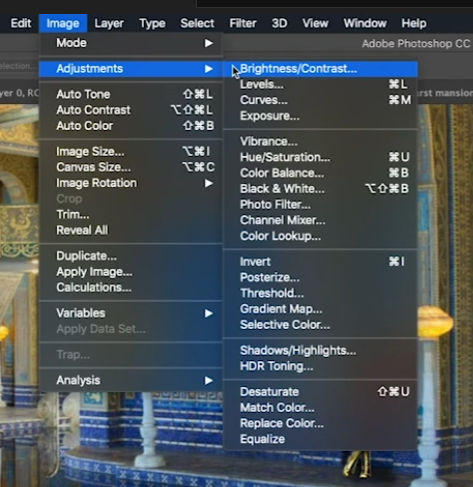
Shazam water reflection:
Image > Adjustment > Brightness/Contrast
Exercise 1 Part 1: Shazam (Week 3, 16.9.22)
Week 4 (23.9.2022) - Brush, layer, fill in colour
Week 4 Tutorial Note - Digital imaging Exercise 2: The Breakdown Part
2
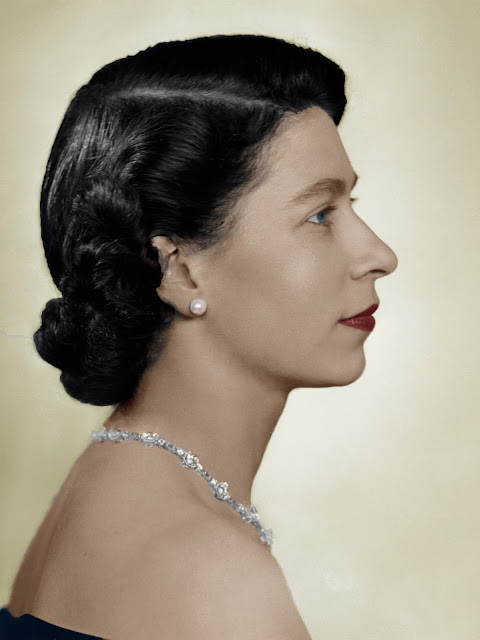
This week, we learned to recolour the black and white image using "Select
& Mask" to select the detail such as hair and cloth. Later on, we also
learn to use "solid colour" to recolour the image by dragging the layer
mask to the solid layer. After repeating and practise, I have become
more skilled and I found out this is a good opportunity for me to
practice and use for the internship work that I currently taking
now.
Clipping Mask Shortcut Key - Control + Alt + G
Invert = Ctrl + i
Exercise 2 Part 2: Recolouring B&W photo (Week 4, 23.9.22)
Week 5 (30/9/22) - Double Exposure
Week 5 Lecture Note - Double Exposure
Week 5 Practical - Double Exposure
In this week 5, we learned about Double Exposure, which is blending
and merging multiple images in a picture. We also did a double
exposure practice in class, it was not as hard as I thought after we
had practised recolouring and blending exercises last week. Besides,
we had an opportunity to take pictures in a photography studio
using a DSLR camera to take our own portrait photos.
References
References
Exercise: Double Exposure (Week 5, 30.9.22)
Learning DSLR cameras in a photography studio (Week 5, 30.9.22)
Week 6 (7/10/22) - Displacement
Week 6 Lecture Note - Digital Photography
Step to make a displacement photo
- Open the cat picture in Photoshop
- Duplicate the cat image and make it Black and White
- Gaussian blur the block and white layer
- Save as a PSD file
- Place the giraffe skin in photoshop and (left click the layer)"smart object" the giraffe skin
- Filter > Distorts > Displace > 20,20
- Blend mode and Done!
Flag (Week 6, 7.10.22)
Liverpool (Week 6, 7.10.22)
Hybrid (Week 6, 7.10.22)
Week 7 (14/10/22) - Heling tool set & Cyborg practices
Photoshop using sports healing brush tool and dodge burn
Photoshop using the healing brush tool and cyborg
Photoshopptch tool and content-aware tool
Photoshop using the patch tool
Week 8 (21/10/22) - Independent Learning Week
Week 9 (28/10/22) - Basic of After Effect
Week 9 Lecture Note - Intro to After Effect
Basic animation in After Effect
Week 10 (4/11/22) - Photoshop Timeline
Photoshop Tutorial: Parallax Photo Effect
How to make an Animated GIF in Photoshop
Separate Layers in Photoshop and use a timeline to create motion
Photoshop motion progress
Photoshop Motion Outcome 1
Photoshop Motion Outcome 2
Week 11 (11/11/22) - After Effect 3D Layer Camera
After effect 3D layer outcome
REFLECTION
The basic tools were often utilized in this exercise. I am able to get more familiarized with it and be more efficient with it. Especially the blending mode which took a huge part in designing this exercise because it is not just the perfect solution for multiple elements in one post but also creates the suitable gradient for them. Furthermore, adjustment of colors also required high skills in performing it. From low to high concentrations as well as saturated colors would be really effective and make the posts look very harmonious. Healing tool set was utilized effectively in this exercise to remove the inconfident area of the facial and create a perfect expression. Moreover, it also allows me to master motion graphics and be able to use it for future usage. After effect and photoshop timeline was also very functional in this exercise as I have already learnt this before and it took a huge role in designing these exercises. However, the 3D layering camera was kinda difficult for me to use but I still managed to use it. In short, this exercise allows me to experience every possible tools that will be effective for my future usage.


.png)

Comments
Post a Comment